Most of the developers know that we can export SharePoint List view data to Excel using an OOB feature provided by SharePoint. In this article, we will go through the program to export SharePoint data to Excel using JavaScript.
Requirement: You have a custom page where you want to put a hyperlink and when end-user clicks on that link, the data from a specific list view should get exported into the excel file. Let’s see how we can achieve this programmatically.
Find out Export To Excel link using Browser or Fiddler
In this section, we will check what exactly SharePoint requests to the server when we click on Export To Excel OOB Link from a list view.
- Open your SharePoint List in SharePoint Classic Mode (Not in Modern Site).
- Here, you will see Ribbon and the Export to Excel link.
- Now, press F12 or open the developer tools.
- Go to Network Tab.
- Now, click on the Export to Excel from Ribbon.
- This moment you can catch the request URL in the network tab, made by this click.
- You can also use the Fiddler tool to check the request.
Now, we need to create a URL like this you see in the network tab.
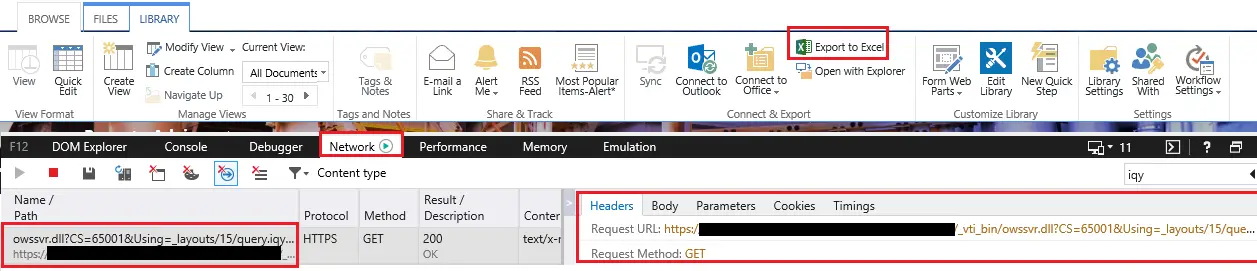
Below is the syntax of the URL that we got from the OOB Export to excel request. We need to form a URL like this using JavaScript.
<<SiteAbsoluteUrl>>/_vti_bin/owssvr.dll?CS=65001&Using=_layouts/15/query.iqy&List=<<ListGUID>>&View=<<ListVIewGUID>>
- SiteAbsoluteUrl – Absolute URL of the Site. You can use _spPageContextInfo object to get the absolute URL directly.
- ListGUID – You need List GUID on which you are working. In this tutorial we have got the List GUID using JSOM so you only need to pass List Name in the example given below.
- ListVIewGUID – You need to pass View GUID that you are working on. In the code below, we haven’t provided the code to get view GUID but we have provided 2 options in the code comment. Also, you can refer to some JSOM Methods for SharePoint List View which will help you here.
Export To Excel Custom Link Using JavaScript
- Put a Content Editor Web part and a Script Editor Web Part on the page.
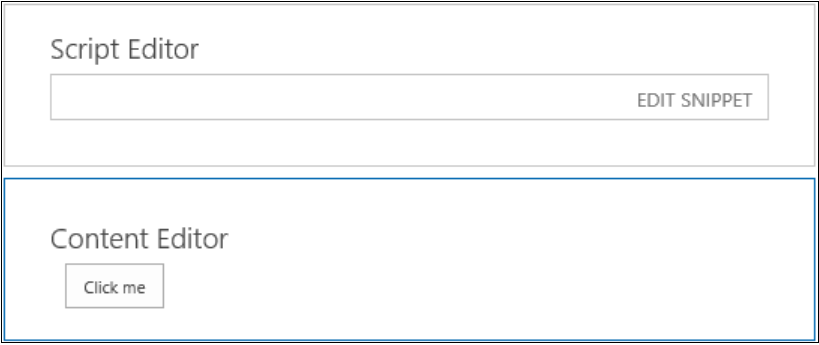
- Add below Html in Content Editor webpart.
<button onclick="ExportToExcel();"
type="button">Click mebutton>
- And below references in Script Editor Webpart. ScriptFile.js is a JavaScript file where you can keep below function ExportToExcel. i.e. your actual logic.
<script src="https://MyServer/sites/SiteCollection/style
library/js/ScriptFile.js">script>
- Once you are done with setting your page, click on the button and your method should get executed.
-
// Function to handle export to excel
functionality
-
function ExportToExcel() {
-
-
// Here, we need the List VIEW ID.
-
// Option 1: If you have the list view added on
the same page, you can retrieve the View ID using DOM Manipulation
-
// Option 2: If you know the view name and list
name, you can get the list view id using coding.
-
var strViewId =
'ViewId';
-
-
//obtaining attributes to build ows query
-
var url = _spPageContextInfo.siteAbsoluteUrl;
-
var owasr1 =
'/_vti_bin/owssvr.dll?CS=65001&Using=_layouts/15/query.iqy&List={';
-
var owasr2 =
'}&View={';
-
-
var context = new
SP.ClientContext.get_current();
-
var web = context.get_web();
-
-
var mListName = "List
Name";
-
var mList =
web.get_lists().getByTitle(mListName);
-
-
//call to get list id param
-
context.load(mList);
-
-
context.executeQueryAsync(onQuerySucceeded, onQueryFailed);
-
-
function onQuerySucceeded() {
-
var idList = mList.get_id();
-
-
// SYNTAX:
<<SiteAbsoluteUrl>>/_vti_bin/owssvr.dll?CS=65001&Using=_layouts/15/query.iqy&List=<<ListGUID>>&View=<<ListVIewGUID>>
-
var qstring = url + owasr1 + idList +
owasr2 + strViewId + '}';
-
window.location.replace(qstring);
-
}
-
-
function onQueryFailed(args) {
-
var message = args.get_message();
-
ErrorMessage("Facing Issue: " +
message);
-
}
-
};
Let us know in the comment section whether you were aware of this trick or not.