This tutorial will guide you through step by step process on what all things are required on your development machine in order to set up the development environment to create SharePoint Framework (SPFx) solutions.
Step-by-step process to setup SharePoint Framework development environment
Before setting up the development environment for SharePoint Framework, make sure you have set up your Office 365 tenant
Install Developer tools
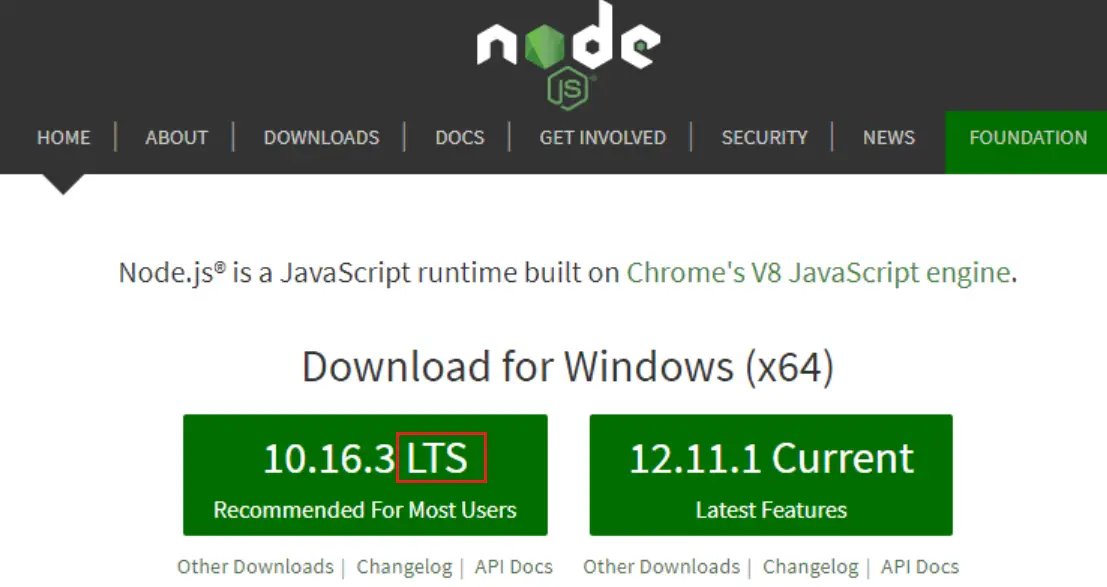
- Install Node JS. Make sure you install LTS (Long Term Support) version.
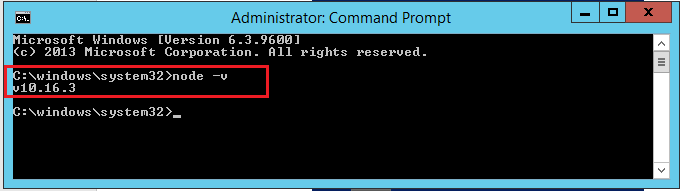
- If you already have node js setup and want to know the version of the same then follow the process mentioned below.
- Open the command prompt.

- In the command window, type node -v. That will give you the version number, setup on the machine.
Install Code Editor
You can use any code editor for development but here we are going to show Visual Studio Code.
You can download the Visual Studio Code (https://code.visualstudio.com/) and set up on your machine.
There are also some recommended editors like Atom and Webstorm that you can leverage for your SPFx solution development
Install Yeoman and Gulp
- Yeoman: Yeoman SharePoint Generator is used to scaffold a new client-side project, package it and deploy it.
- Gulp: Gulp is basically a task runner using which we can accomplish tasks like build, view and test your project. You can explore more gulp tasks using command gulp –tasks.
- In the command window, type below command:
npm install -g yo gulp.
Getting Error !!! Not necessary that you will also get one :)
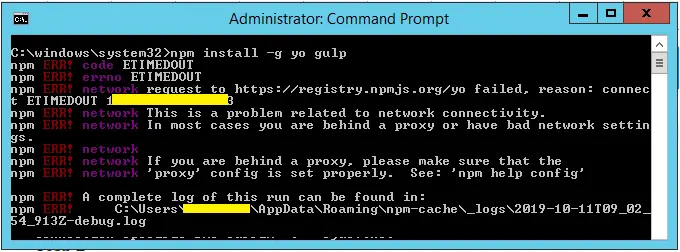
Problem 1: ERR! Network - This is a problem related to network connectivity
If you are running the command behind a proxy (corporate machine), you may encounter this issue.
Solution:
Run below command in the command window.
npm config set https-proxy http://<Proxy server>:<Port>
Note:
You can get proxy server using the command ping proxy OR you can check how to find proxy server address
Problem 2: ERR! Code E 407 Proxy Authentication Required
You may need to pass ID and password in the above command if you are getting this error.
Solution:
Run below command in the command window.
npm config set https-proxy http://<UserID>:<Password>@<Proxy server>:<Port>
Example:
npm config set https-proxy http://abc.xyz%40comp.com:Welcome%[email protected]:8003
NOTE:
%40 is encoded value of @. You need to encode the values of parameters.
Parameters used in the above example:
- UserID - [email protected]
- Password – Welcome@123
- Proxy server – pqrweb.ab.net
- Port Number – 8003
After running the above command, you can run the below command to install Yeoman and Gulp.
npm install -g yo gulp
NOTE:
- To check Installed Yeoman version:
Run the command yo –version
- To check installed gulp version:
Run the command gulp –version
- To check the installed node version:
Run the command node –version
Install type Script
In the same way, you can also install TypeScript. Run below command to install TypeScript
npm install -g typescript
NOTE:
You can check the downloaded typescript version by the command
tsc -v
Install Yeoman packages for SharePoint framework Templates:
This will help you to create SharePoint client-side project solutions with project structure.
To install, run the below command
npm install -g @microsoft/generator-sharepoint
Reference is taken from MSDN article
Conclusion:
We went through all the details required to set up the SPFx development environment like installing node JS, code editor, Yeoman, gulp, TypeScript and Yeoman packages for SharePoint framework templates.