The example in this topic show how to use PowerShell to Set Web Properties in SharePoint
- Using PnP (Pattern and Practice) PowerShell commands, you can access
and manipulate SharePoint objects easily.
- Prerequisite: You have to install cmdlets to work in PnP PowerShell.
How to run PnP PowerShell command in SharePoint?
- First, open powershell ise.
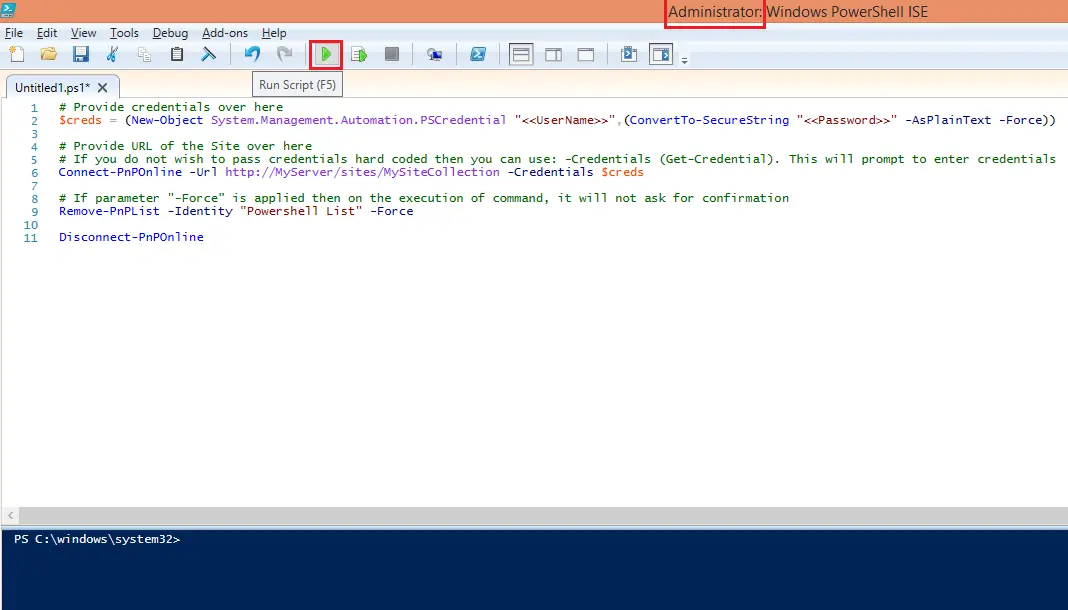
- Make sure you run it in Administrator Mode.
- Now, copy and paste the code mentioned below and click on Run Script as shown in the screenshot.
- # Provide credentials over here
- $creds = (New-Object System.Management.Automation.PSCredential
"<<UserName>>",(ConvertTo-SecureString
"<<Password>>" -AsPlainText -Force))
-
- # Provide URL of the Site over here
- # If you do not wish to pass credentials hard coded then you
can use: -Credentials (Get-Credential). This will prompt to enter credentials
- Connect-PnPOnline -Url testhttp://MyServer/sites/MySiteCollection
-Credentials $creds
-
- # Paramenters
-
- $title = "New Sub Site Title"
- $Description = "New
Description"
- $SiteLogoUrl = "<<Logo
URL>>"
- $Web = "PowerShellSubSite2"
-
- # You can connect to sub web directly by specifying full url
of sub web in "Connect-PnPOnline" command above.
- # You can ignore the paramenter if you want to use the same
web(specified above in "Connect-PnPOnline" command)
-
Set-PnPWeb -Web $Web -SiteLogoUrl $SiteLogoUrl
-Title $title
-Description $Description
Thank you for reading this article. This code was tested in SharePoint 2013