Latest Posts

Implement exception handling in Power Automate


Try catch and finally, these three blocks are life saviors for any programmer. And that is the same for Power automate as well. In this article, we are going to see how we can implement exception handling using the Try-Catch-Finally block.

  • Go to power Automate
  • Once you are in Power Automate, Go to My flows
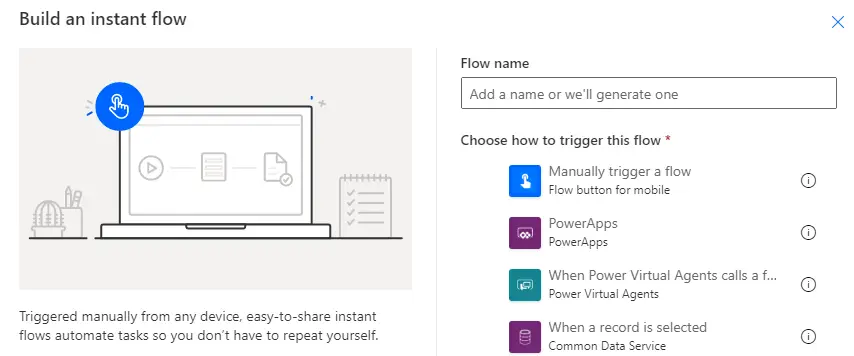
  • Click on New>> Instant – from blank.
  • Instant Flow from Blank
  • Skip the next screen, you can give a name to your Flow later.
  • Choose the trigger. Here based on your requirement you can select when should the flow trigger.
  • The main part is Action.
  • Click on Add an Action. In the search bar enter – Scope.
  • power automate select scope action
  • You need to wrap your main action in these Scope containers and these Scope containers are nothing but Try-Catch blocks.
  • When you add your first Scope (Try) block, you will notice that after you click on the ellipsis, the Configure run after button is disabled. power automate configure Run after
  • NOTE:
    The Configure run after setting that we have utilized in this blog article is available for any Action and not only for this (Scope Actions). So even if you put SQL actions or MS Excel, the option will be available to you.
    configure run after actions
  • Try is your first block in exceptional handling and the link (Configure run after) gives the option to run after a specific block (which is not there because this is the first scope block in the flow).
  • We can add whatever action we want to add. Whatever action we put over here, if it fails, we are going to catch the exception for that.
  • So now we will add a second block – Catch. Rename it to Catch and go into Configure run after. Now here you can decide when exactly the flow execution will enter the Catch block based on the previous block (Try block). We have selected has failed and has timed out. So, if Try black has failed or has timed out only then it will execute this block.
  • catch should run after
  • Now you can configure the finally black. No matter what happens but Finally block should run. So Probably you can tick all these options in finally block and add actions according to your requirements.
  • finally should run after

We value your Feedback:

Page URL:

Name:


Email:


Suggestion:


© 2024 Code SharePoint