In this article, we will understand how to remove all data for the entities in CDS (Common Data Service). You can, not only delete the data, but you can also schedule the deletion of the data for the future. Let’s go through the process in detail.
PowerApps BULK delete CDS record
- Navigate to the PowerApps Portal.
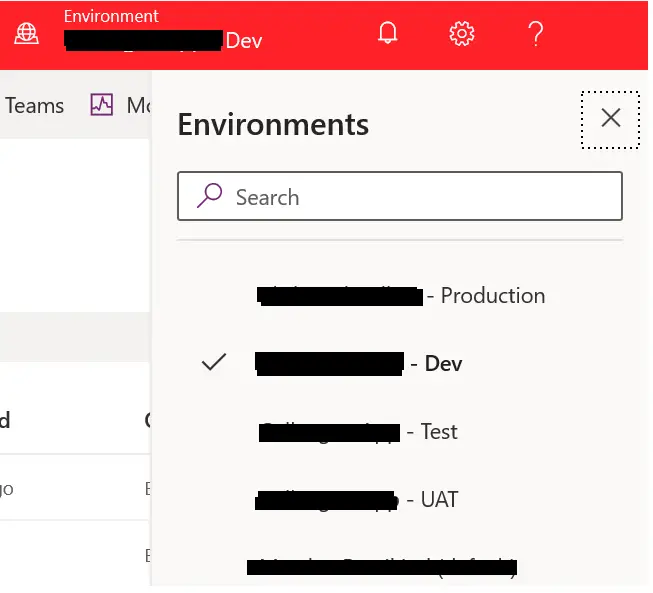
- Select the environment to deploy to (top-right)
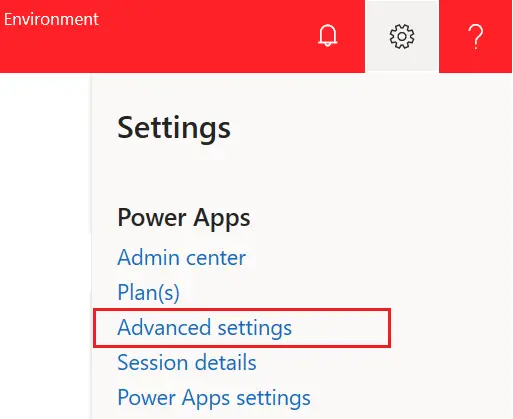
- Select the settings cog icon (top-right)
- Select Advanced Settings
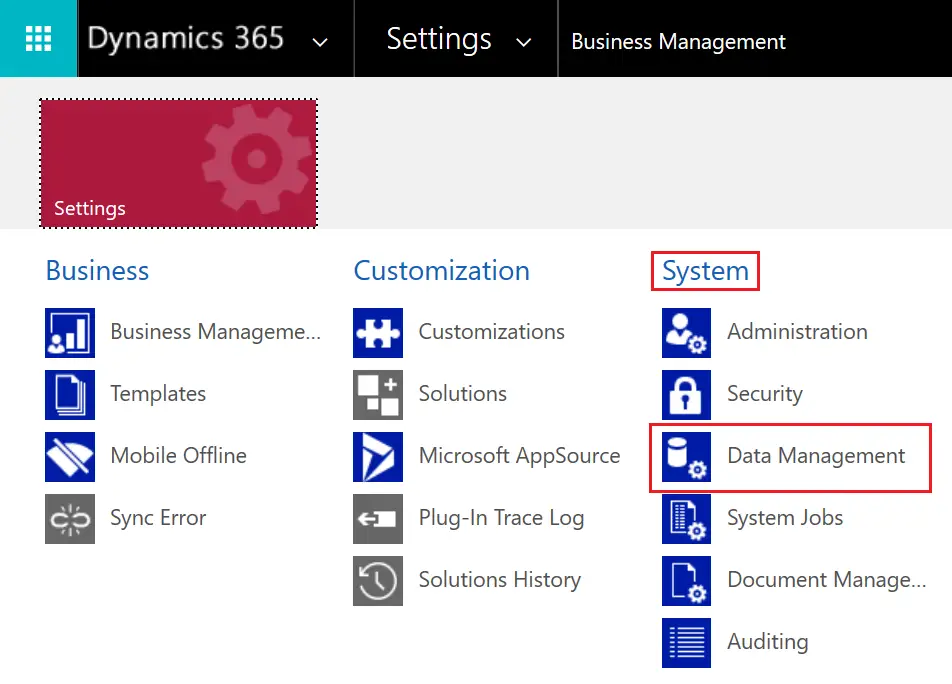
- Along the top, select the down arrow next to Settings
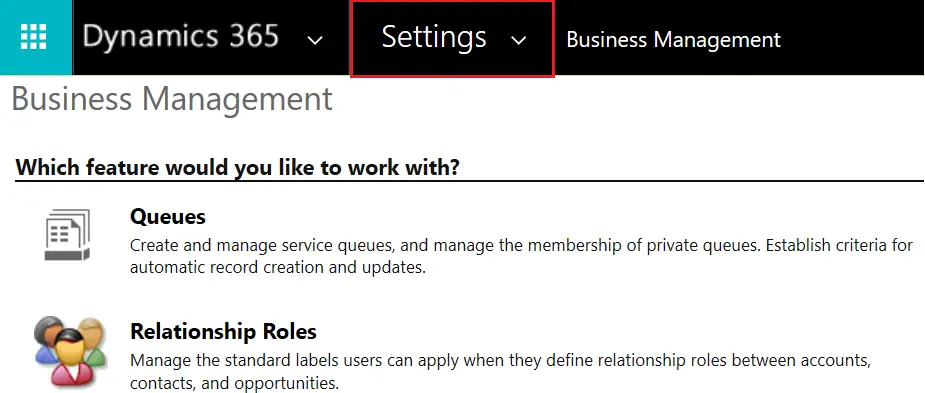
- Under the System group, select Data Management
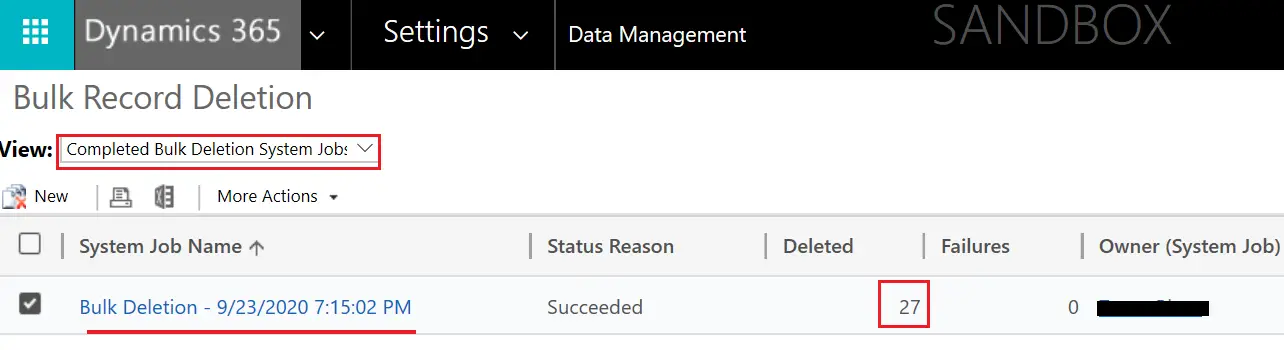
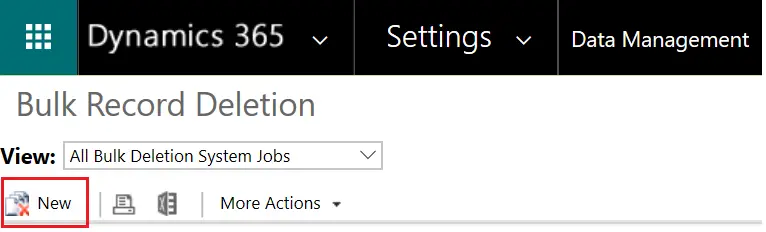
- Select Bulk Record Deletion

- Select New in the toolbar under Bulk Record Deletion.
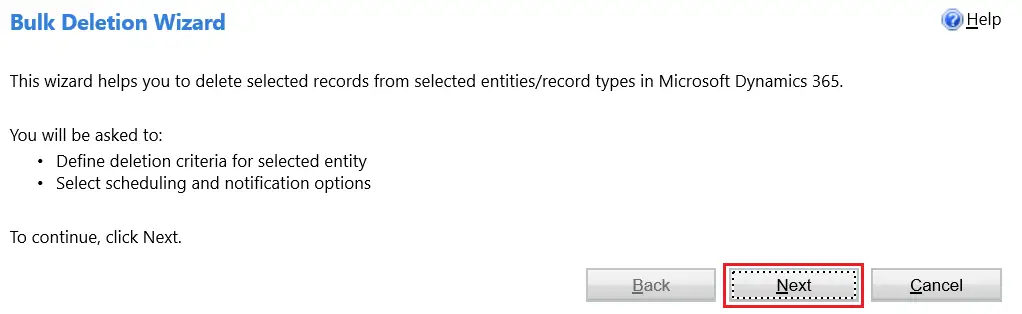
- When the Bulk Deletion Wizard opens, select Next.
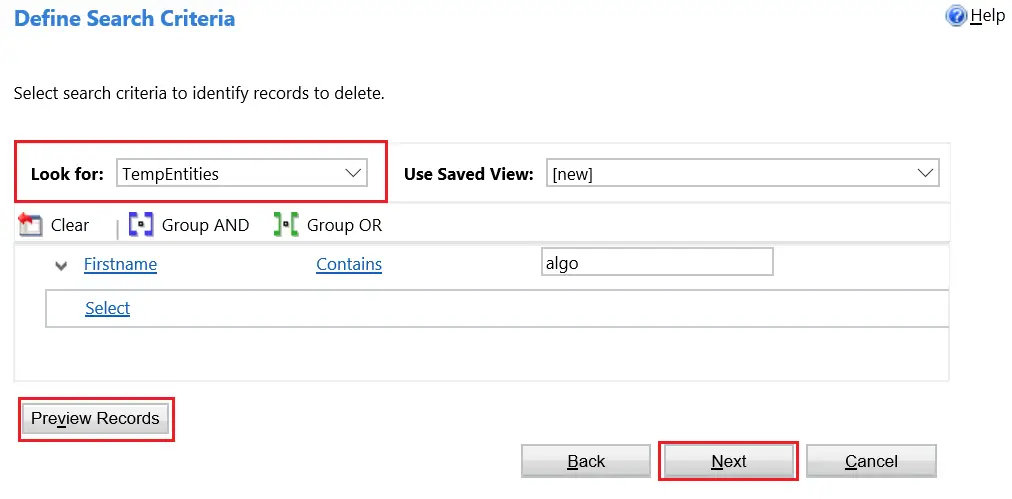
- Next to Look for:, select the Entity from CDS that you want to clear and then select Next. You can also Preview the records to just make sure the entity you have selected is correct.
Here, you can filter the results if you want by clicking on Select.
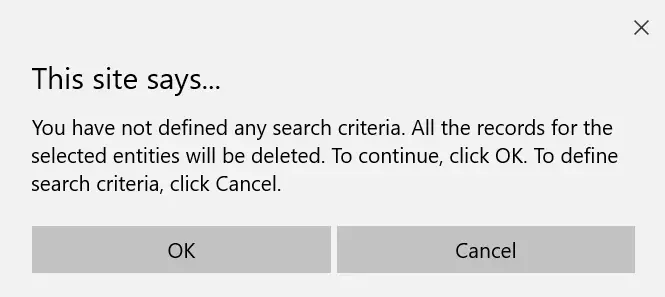
- If you haven’t defined any search criteria then an alert will open saying: You have not defined any search criteria, All the records for the selected entities will be deleted. To continue, click OK. To define search criteria, click cancel. Select OK
- On the next screen, you need to specify a few properties.
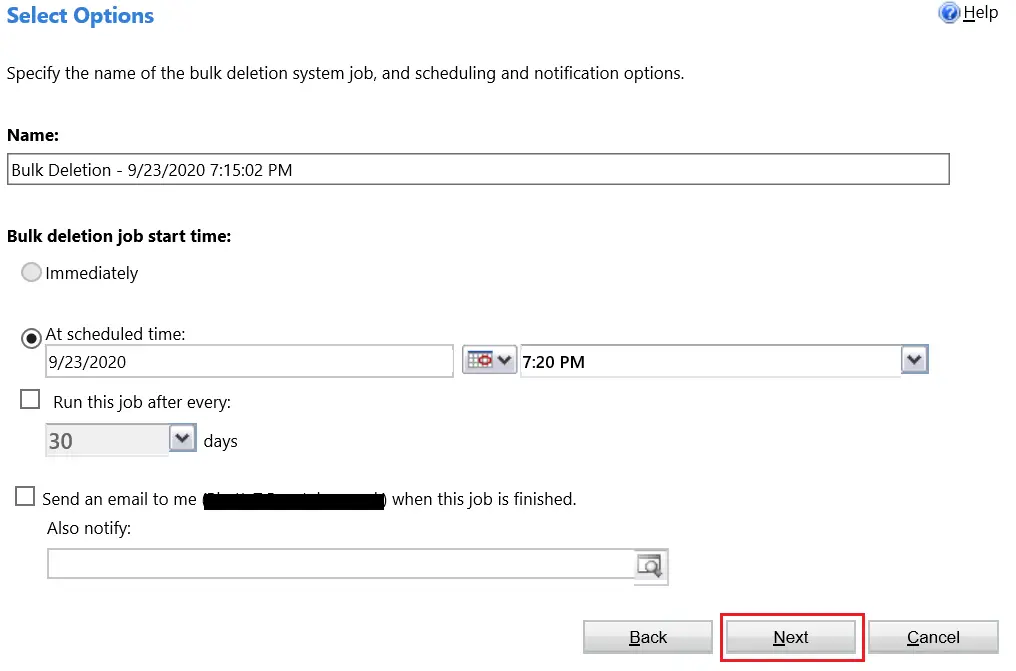
- Name: Specify the name of this job of bulk deletion.
- Bulk deletion job start time: Specify if you want to run the job now or at any specific time.
- Immediately: Will delete the data immediately
- At scheduled time: Specify date and time when the Job should start
- Run this job after every: After this many days, this job again will run. you don’t need to set up the whole process again.
- Send and email to me: Select if you want a confirmation on an email after the job is done.
- Also notify: Specify your team member also about the completion.
- Click on Next.
- After confirming the settings, click Submit
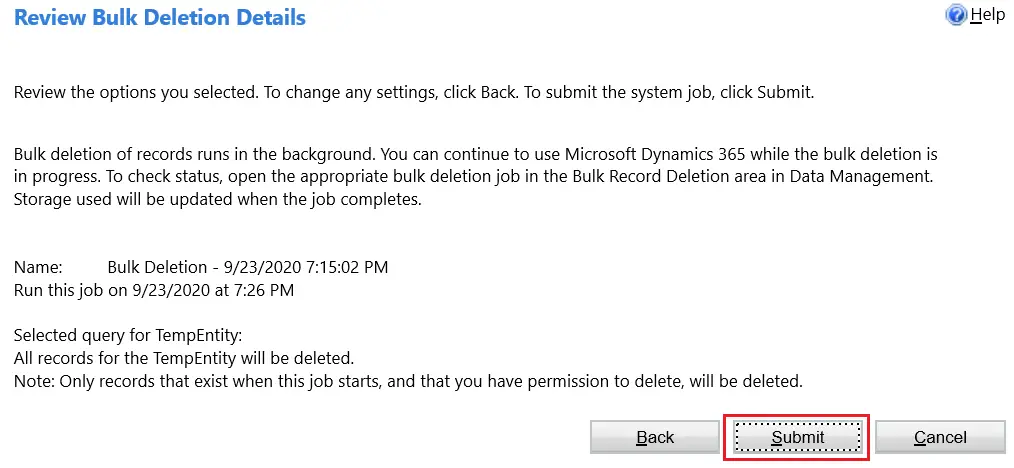
- You can check the status of the job from the Bulk Record Deletion window.