Document ID is a feature in SharePoint that provides a unique identity to each document, uploaded in the library. The beauty of the feature is that even if you move your document to another library or site, the link of the Document doesn’t change. This feature is purely for Documents and NOT for List items.
Prerequisite:
Document ID Service feature should be activated from Site Collection Features.
How to activate Document ID?
- Go to Site Settings.
- Site Collection Features
- Activate Document ID Service Feature.

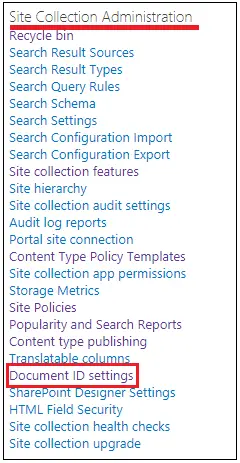
- Once you activate the feature, one link, Document ID settings will be activated in Site Settings under Site Collection Administration. Click on the Document ID settings link.
- There are a few options that need to be understood.
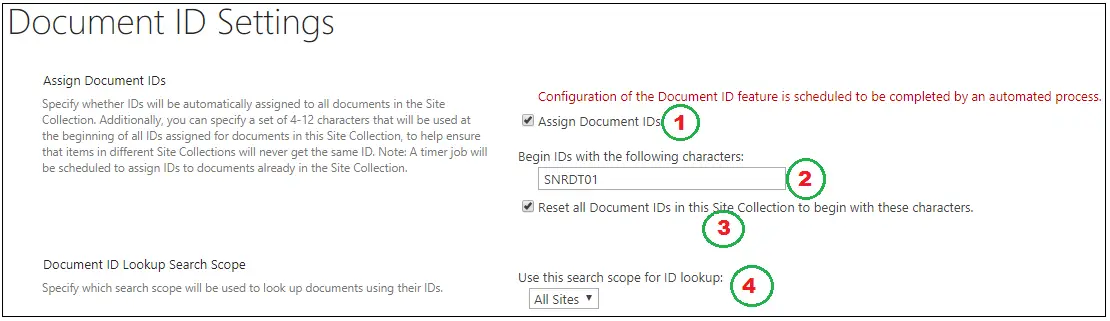
- Assign Document IDs: You will have to tick this checkbox in order to use Document Id. You can see one note in red above the checkbox. It clearly states that it is scheduled to be completed by an automated process. There are two timer Jobs that assists Document ID feature.
- Document ID assignment job – This Timer Job assigns Document ID to all documents in the site.
- Document ID enable/disable job – This Timer Job adds Document ID column to each content type which inherits Document content type.
- Begin IDs with the following characters: Enter Id to be used as Document ID. Use minimum 4 to Maximum 12 characters.
- Reset all Document IDs in this Site Collection, to begin with, these characters: Tic this check box if you want all document Ids in the current site collection to be reset again with the ID specified.
- Document ID Lookup Search Scope: This is a bit tricky. Specify Search Scope over here. You will be able to search any document by Document ID using THIS search scope.
Let’s check Document Id now
- Go to a document library and Edit the view.
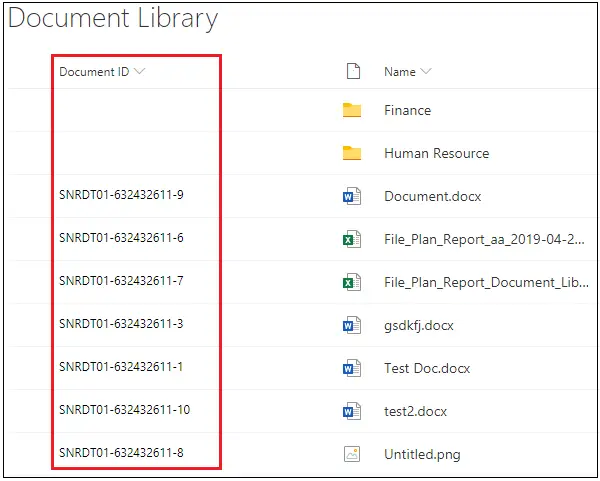
- You will find a column called Document ID. Select that column and update the view.

- This is an auto-generated column so whenever you upload a new document, you will see the value of this column populated.
- If you don’t see Document Id updated for existing documents, wait for some time or if you are using SharePoint On-premises then you can ask your administrator to run the timer job (Document ID assignment job).
- Once the Job is run, you will be able to see the document Ids generated against all the documents.
Conclusion
We went through the idea behind the unique identifying feature of SharePoint, how to configure it and what timer jobs are associated with the Document Id feature.