Search Service Application is used to search the SharePoint content easily and present it to end users in an efficient manner. In this article, we will go through step by step process to create and configure search service application in SharePoint 2013
Step-by-step process to Create Search Service Application in SharePoint 2013
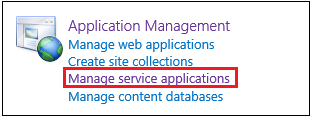
Go to Central Administration >> Application Management >> Manage service applications
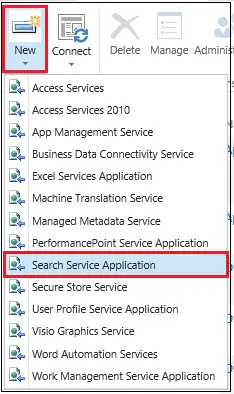
Click on New from ribbon >> in Menu click on Search Service Application.
Here, we are going to set properties of the search service application. These properties can be changed using search service application properties later.
Note:
Initially, all search components will be on the same application server and all databases related to search application on a single database server. This topology can be changed later using PowerShell commands.
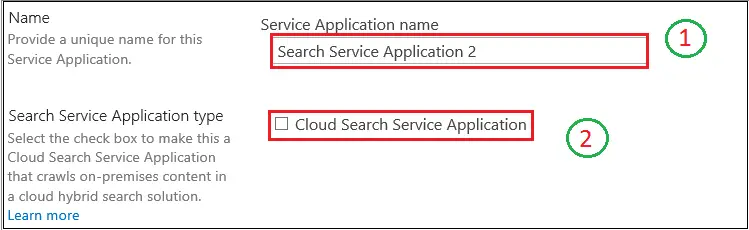
- Service Application name: Provide a name to your new search service application
- Search service Application type: If you select the checkbox, you can use on-premise crawled content using this search service application, in SharePoint online application. This is called SharePoint Hybrid Search.
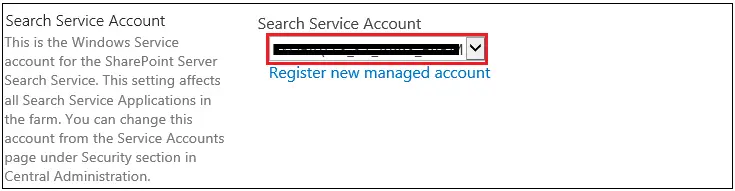
- Search Service Account: This is a managed account. You can either use an existing account or you can create a new managed account using the link given below the drop down as shown in the picture. One windows service – SharePoint Server Search is created and the same is managed by this account.
- Application Pool for Search Admin Web Service: This option is used to define the app pool for this search service application.
1. Application Pool: As shown in below screenshot, you can either Use existing application pool by selecting from the drop-down list or Create new application pool by specifying the name
2. Security account for application pool: You need to select security account by selecting either from Predefined or Configurable (or you can register new Managed Account from the link given).
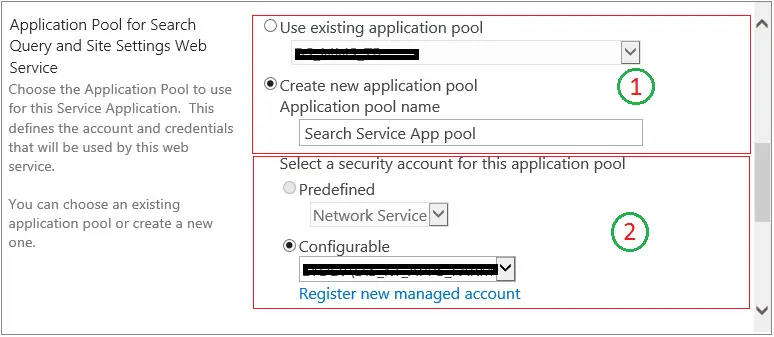
- Application Pool for Search Query and Site Settings Web Service: We created Application Pool for Admin Web Service in the above steps. Similarly, you need to create an application pool for the search query and site settings web service.
Conclusion:
We went through the step-by-step process of creating the search service application manually using central administration. This is generally the job of an administrator who creates a search service application either manually or using Powershell script.